
Introdução
Após duas semanas utilizando o Wayland, decidi permanecer nele por conta de minha boa experiência, assim como foi com o Pipewire. Embora ainda existam alguns bugs ou dificuldades no uso do Wayland, ele já se apresenta de forma muito utilizável. Durante meu uso, notei (ou talvez tenha sido somente impressão minha) um melhor funcionamento junto com o Pipewire como servidor de áudio e mídia. Mas esse não é o foco desse artigo!
Durante minha utilização, testei o OBS Studio, uma incrível ferramenta open-source de gravação de tela e streaming. Por não ter suporte para capturar tela no Wayland, acabei dando de encontro com uma tela preta na captura, e um erro no debug… O OBS utiliza o Pipewire para capturar vídeo, e ele não tinha permissão para realizar essa captura.
Não fui solucionar o problema, e o tempo não estava a meu favor. Então encontrei o wf-recorder, um simples gravador de tela que é utilizado via terminal, e por acaso atendeu muito bem ao que eu precisava.
Como Usar o wf-recorder?
Por mais inacreditável que pareça, tive dificuldades para achar esse incrível e simples projeto. Se quiser saber como instalar, todas as opções de instalação estão na página do GitHub dele.
Embora ele pareça complicado de usar, é muito simples:
1
2
3
4
5
6
7
8
9
10
11
12
13
14
15
16
17
18
19
20
21
22
23
24
25
26
27
28
29
30
31
32
33
34
35
36
37
38
39
40
41
42
43
44
45
46
47
48
49
50
51
52
53
54
55
56
57
58
59
60
61
62
63
64
65
66
67
68
69
70
71
72
73
74
75
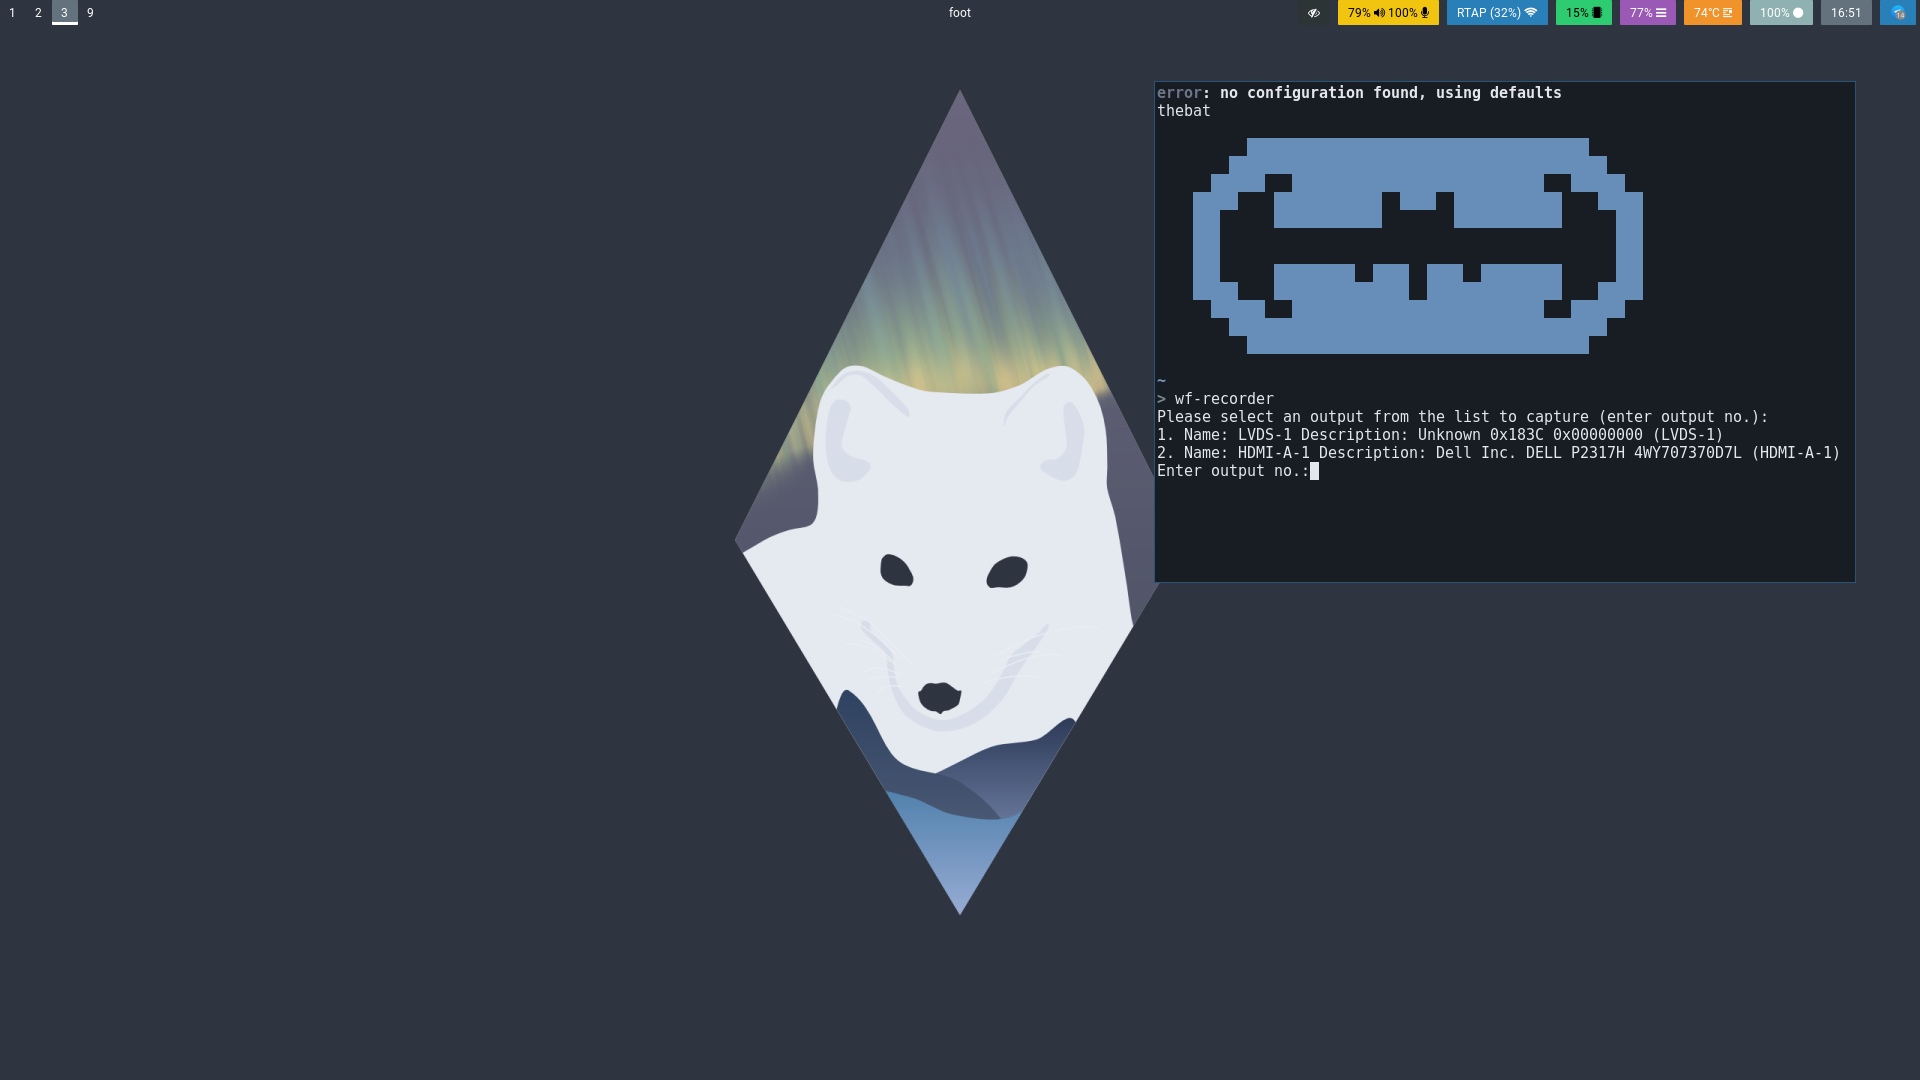
> wf-recorder --help
Usage: wf-recorder [OPTION]... -f [FILE]...
Screen recording of wlroots-based compositors
With no FILE, start recording the current screen.
-a, --audio [DEVICE] Starts recording the screen with audio.
[DEVICE] argument is optional.
In case you want to specify the pulseaudio device which will capture
the audio, you can run this command with the name of that device.
You can find your device by running: pactl list sinks | grep Name
-c, --codec Specifies the codec of the video. Supports GIF output also.
To modify codec parameters, use -p <option_name>=<option_value>
-d, --device Selects the device to use when encoding the video
Some drivers report support for rgb0 data for vaapi input but
really only support yuv.
-f <filename>.ext By using the -f option the output file will have the name :
filename.ext and the file format will be determined by provided
while extension .ext . If the extension .ext provided is not
recognized by your FFmpeg muxers, the command will fail.
You can check the muxers that your FFmpeg installation supports by
running : ffmpeg -muxers
-m, --muxer Set the output format to a specific muxer instead of detecting it
from the filename.
-x, --pixel-format Set the output pixel format. These can be found by running:
*ffmpeg -pix_fmts*
-g, --geometry Selects a specific part of the screen.
-h, --help Prints this help screen.
-l, --log Generates a log on the current terminal. Debug purposes.
-o, --output Specify the output where the video is to be recorded.
-p, --codec-param Change the codec parameters.
-p <option_name>=<option_value>
-e, --opencl Use the -e[#] or --opencl[=#] in conjunction with -t or --force-yuv option
to use opencl for gpu accelerated conversion of data to yuv. # is one
of the devices listed when running without specifying #.
-t, --force-yuv Use the -t or --force-yuv option to force conversion of the data to
yuv format, before sending it to the gpu.
-b, --bframes This option is used to set the maximum number of b-frames to be used.
If b-frames are not supported by your hardware, set this to 0.
Examples:
Video Only:
- wf-recorder Records the video. Use Ctrl+C to stop recording.
The video file will be stored as recording.mp4 in the
current working directory.
- wf-recorder -f <filename>.ext Records the video. Use Ctrl+C to stop recording.
The video file will be stored as <outputname>.ext in the
current working directory.
Video and Audio:
- wf-recorder -a Records the audio. Use Ctrl+C to stop recording.
The video file will be stored as recording.mp4 in the
current working directory.
- wf-recorder -a -f <filename>.ext Records the audio. Use Ctrl+C to stop recording.
The video file will be stored as <outputname>.ext in the
current working directory.
Como pode ver, ao executarmos o comando demonstrado, teremos essa grande saída. Mas não se assuste! Você provavelmente notou os exemplos de uso no final. Desses exemplos, irei destacar dois que provavelmente serão os que você irá usar. Nós temos:
1
wf-recorder -f <filename>.ext
Nesse exemplo, o parâmetro -f permite você de escolher o nome do arquivo (onde está como

Já no exemplo seguinte…
1
wf-recorder -a -f <filename>.ext
…teremos as mesmas opções de nome e extensão do arquivo, mas dessa vez teremos o -a para captura do áudio:

Que tal dar aquele apoio?
Ainda estamos no começo do nosso projeto, e pretendemos estendê-lo! Se possível, dá uma passada lá no nosso canal do Telegram e tenha acesso ao nosso grupo pela mensagem pinada! Contamos com você hein? Bons estudos!